Below are some of the images I have taken:
Attaching The Screen To The Bed


PVA Glue In Tub / Acrylics Available


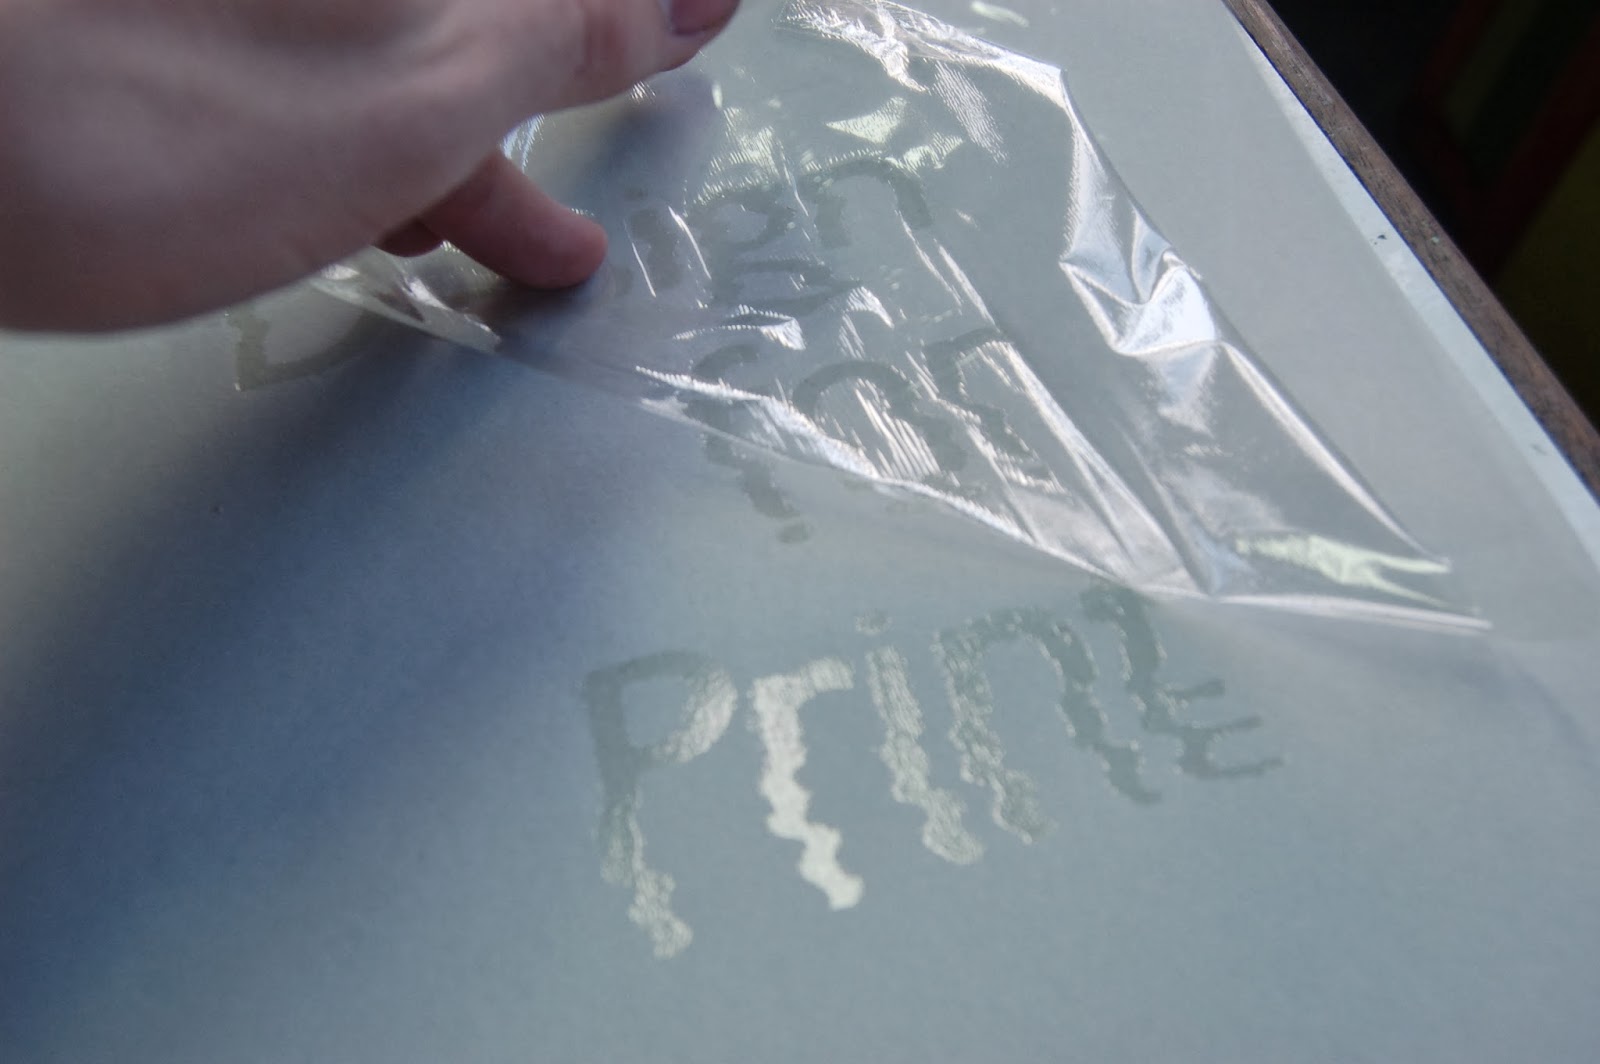
Defects In The Screen


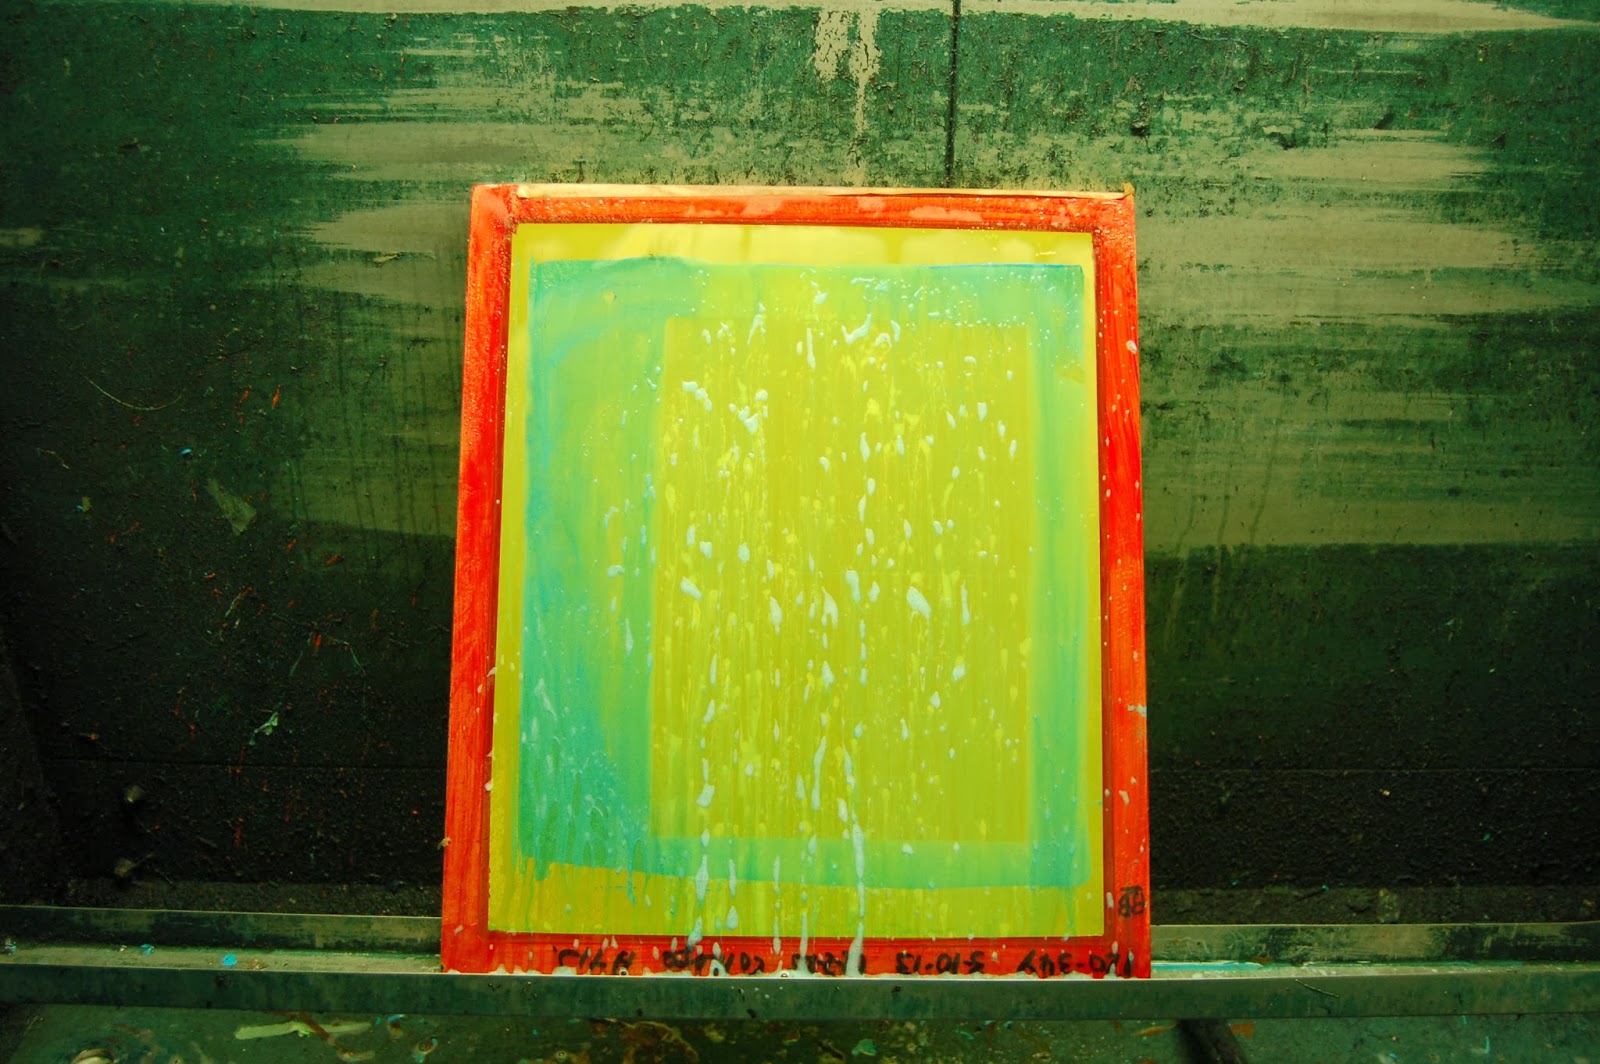
Combination of Acrylic & Binder


Printing Onto The True Grain To Align Paper


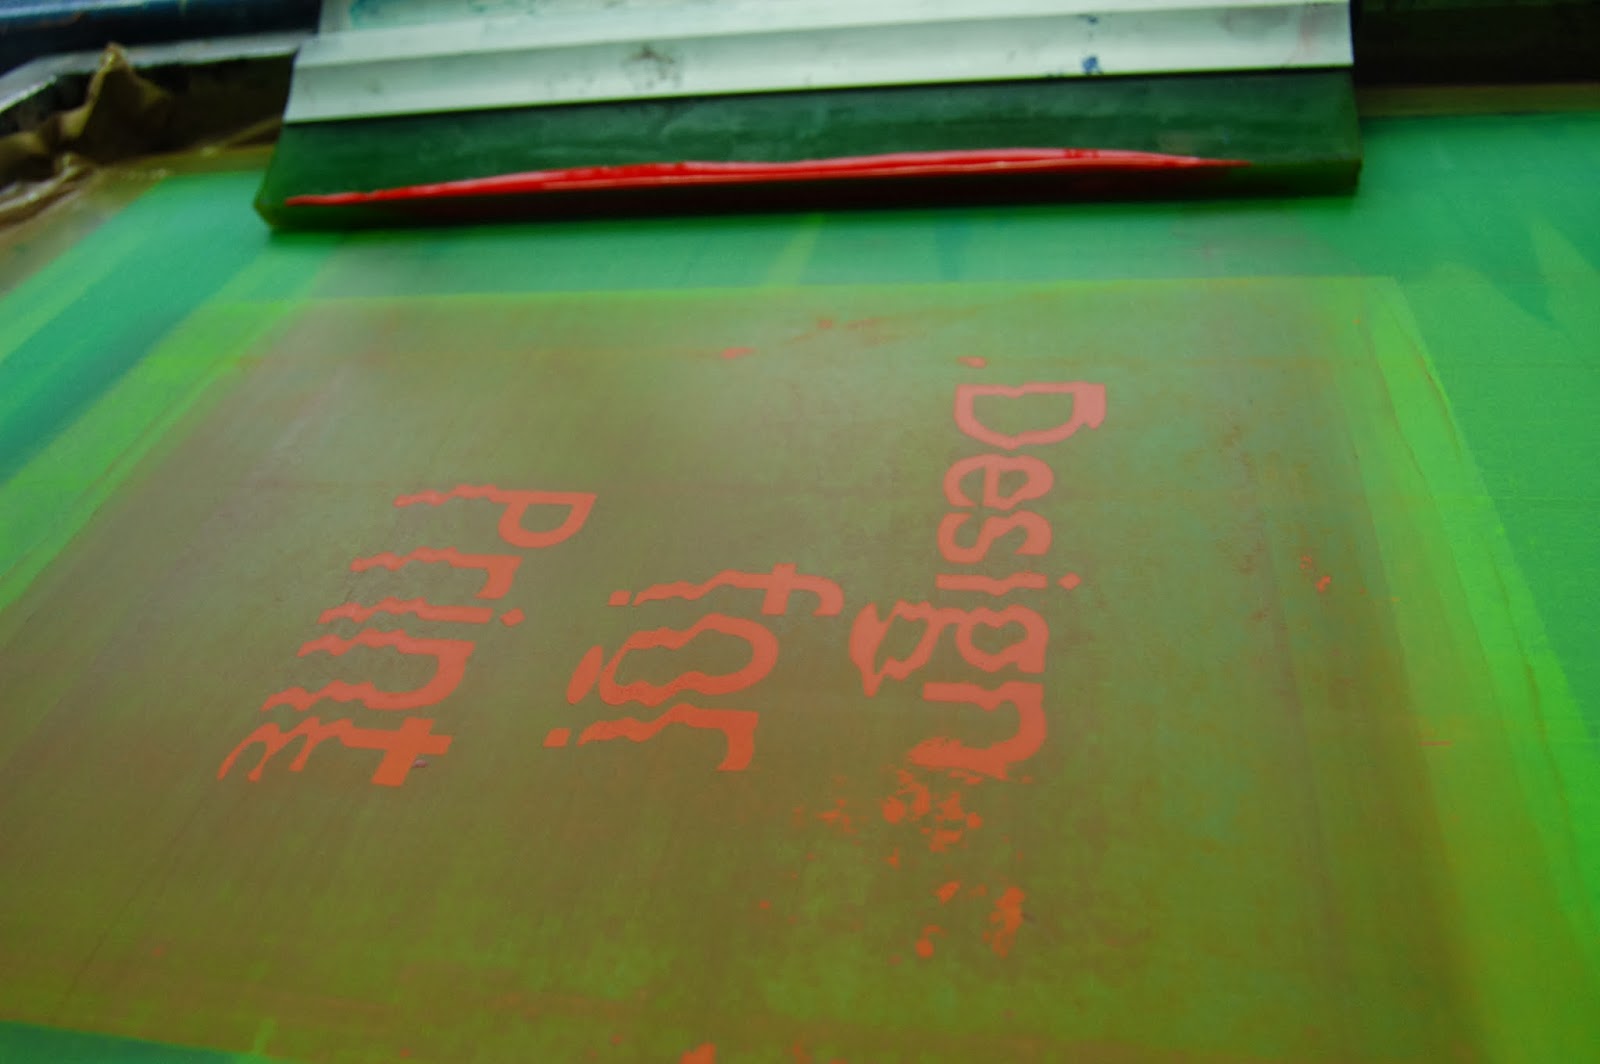
Marking Guides To Print


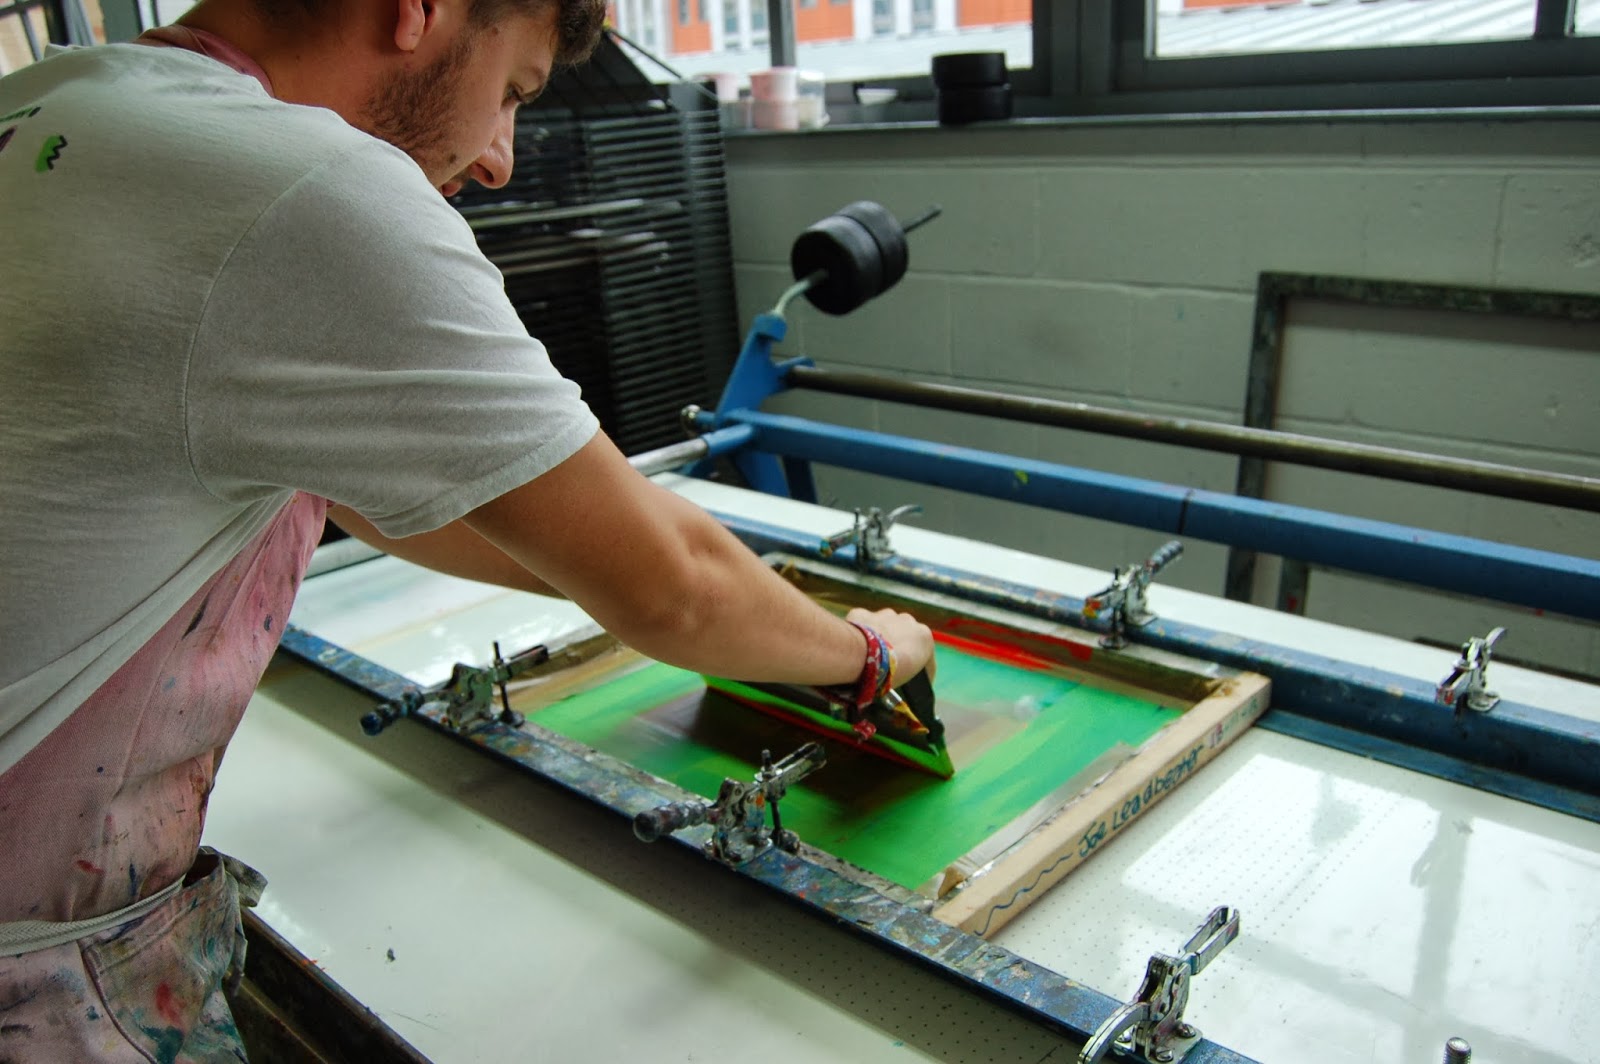
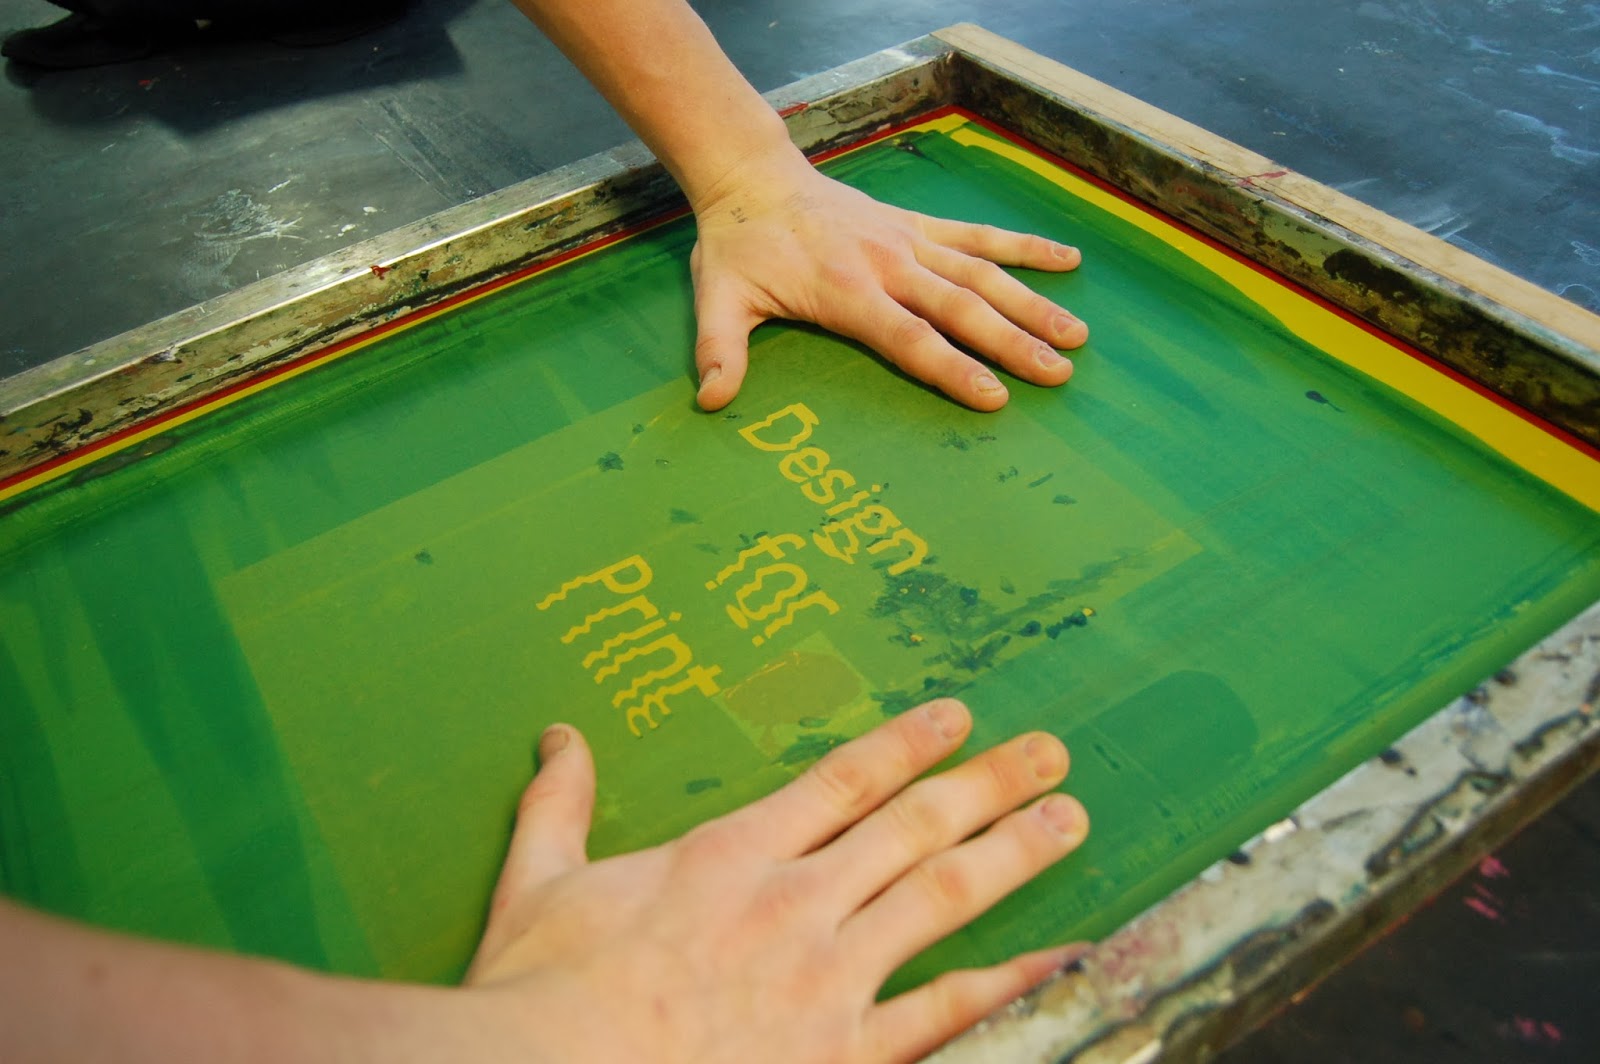
Screenprinting

Washing The Screen After Usage


Reapplying Emulsion To Repair Screen


Prints Drying


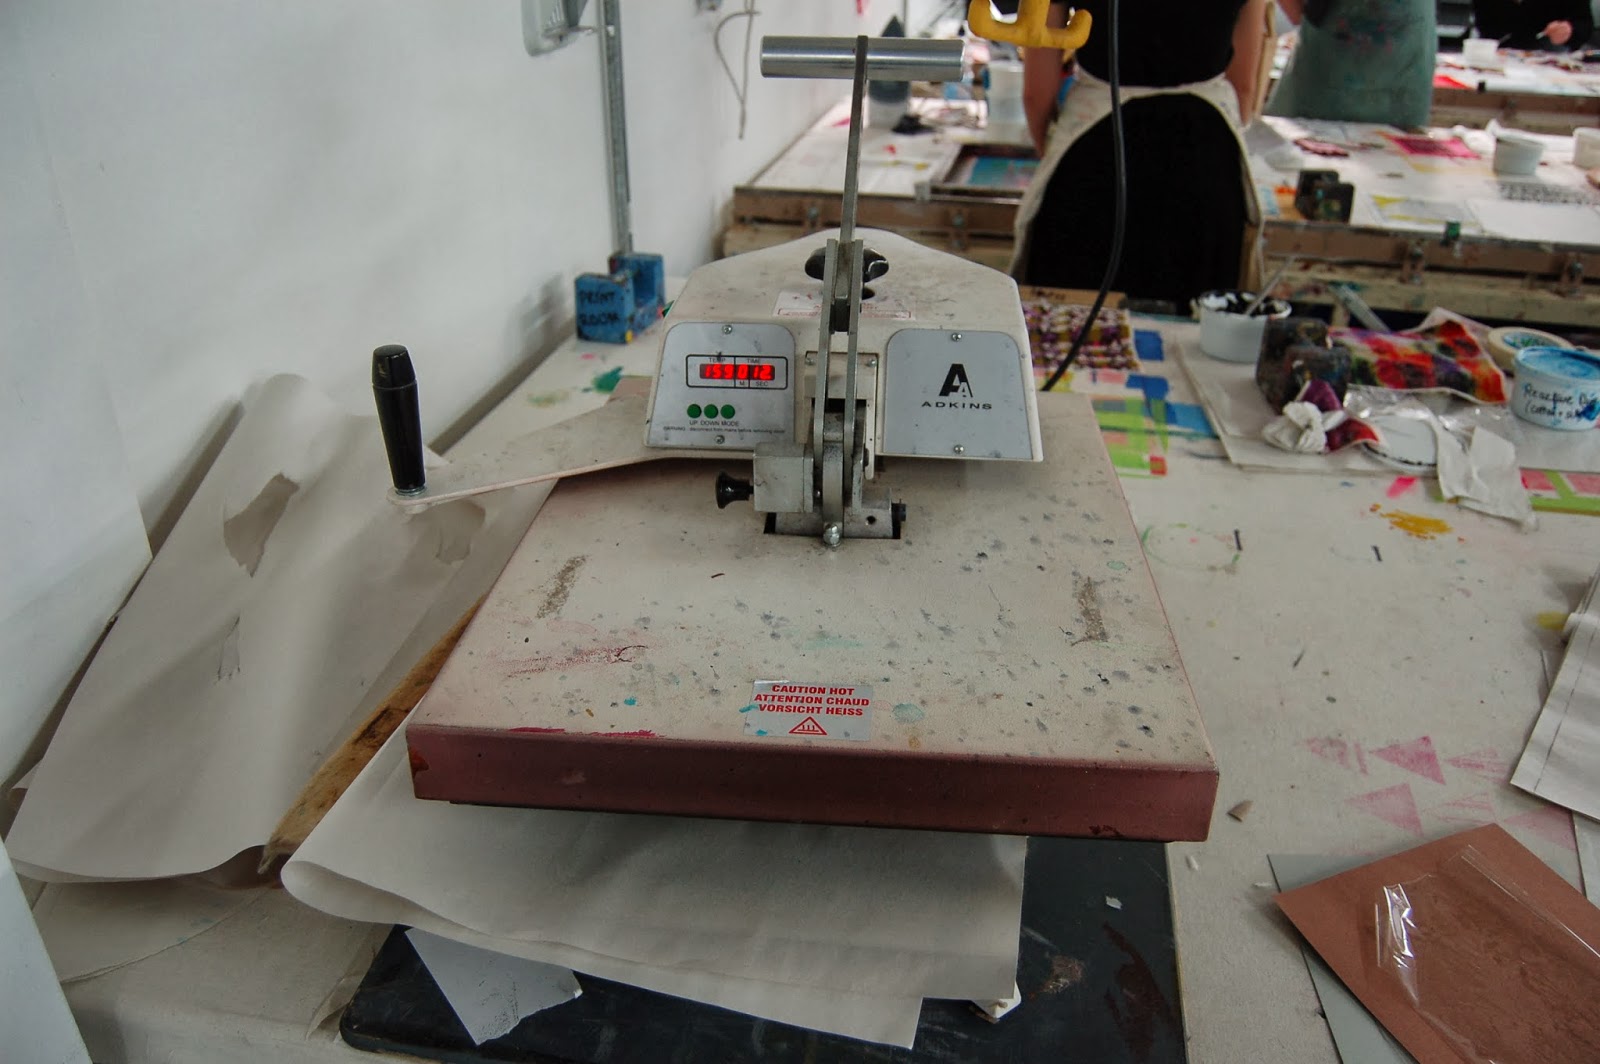
Flocking - The Heat Press / Pealing Flock Off


Foiling - Heat Press & Clear Foil


Thermochromatic Ink Being Applied to Red Acrylic


Chemicals / Tools For Cleaning Screen


Process of Cleaning The Screen For Re-Exposure


Drying Rack


Types of Screenprinting Beds Available


Washing A Screen After Use


Creating A Gradient With Two Thermochromatic Inks


Two Thermochromatic Inks & Binder


Printing The Gradient


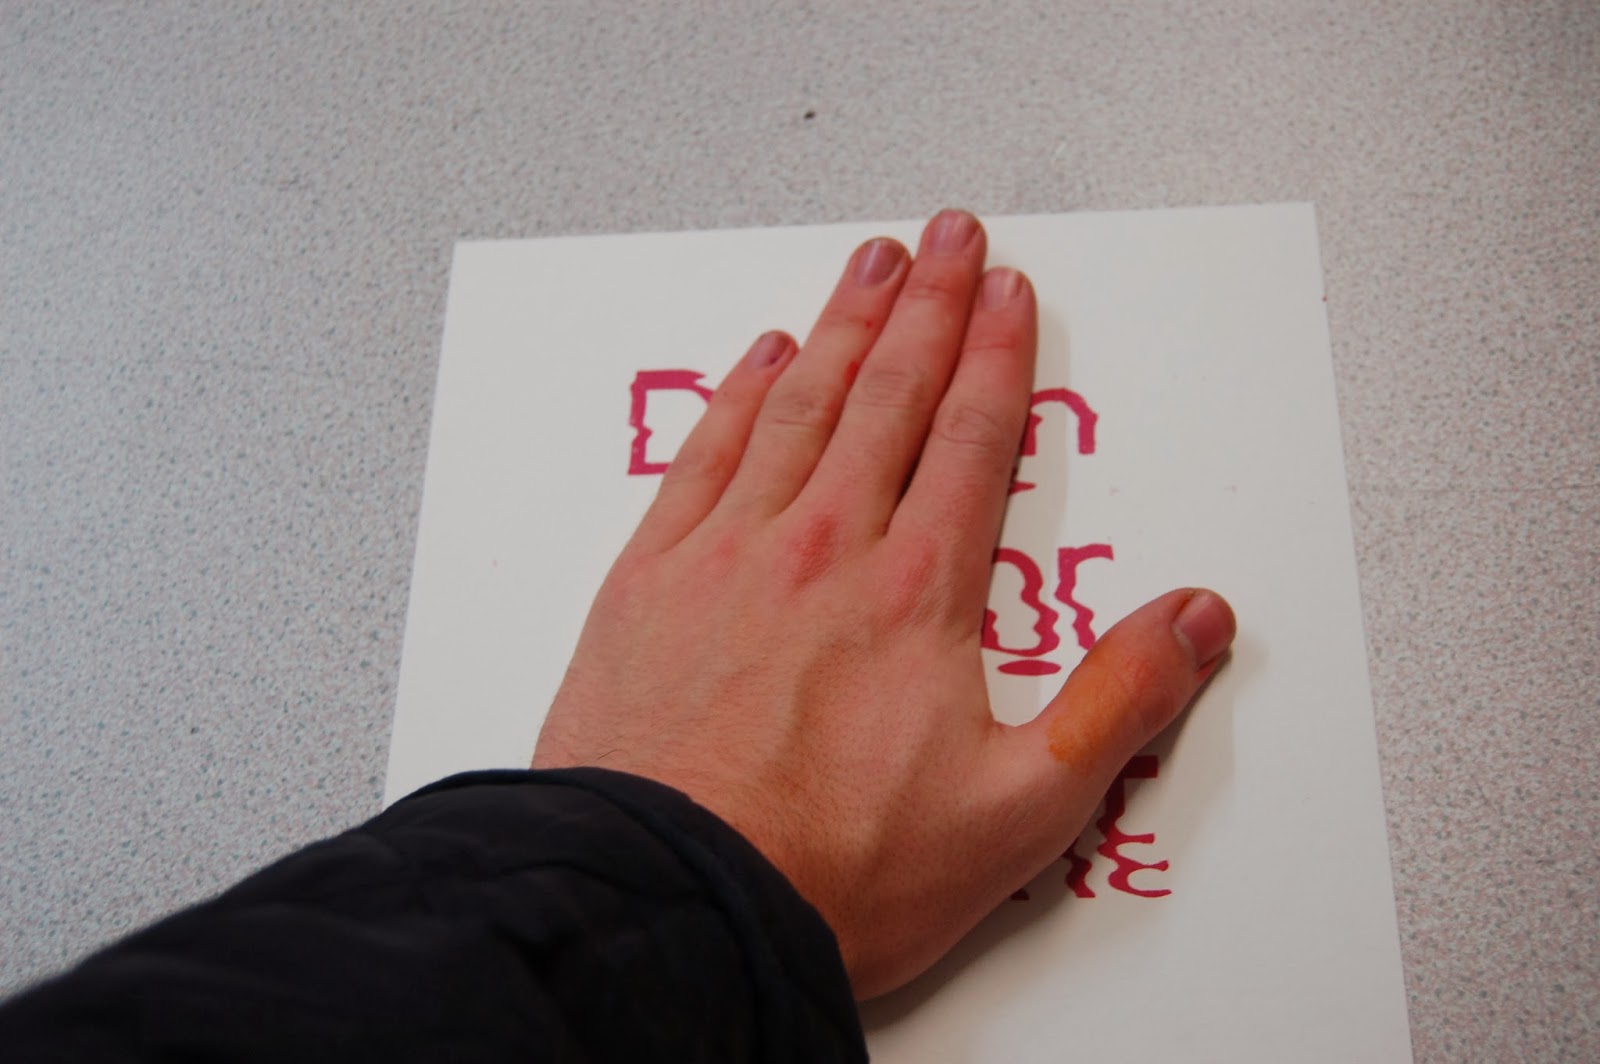
Showing that a hands width should be left when working with a screen


Overlaying A scratch Card Print Over a Normal Print


Printing onto Different Stocks (For Scratch Card Printing)


Seeing if Thermochromatic Ink Works on Acetate / Tracing Paper


Thermochromatic on Standard Stock